
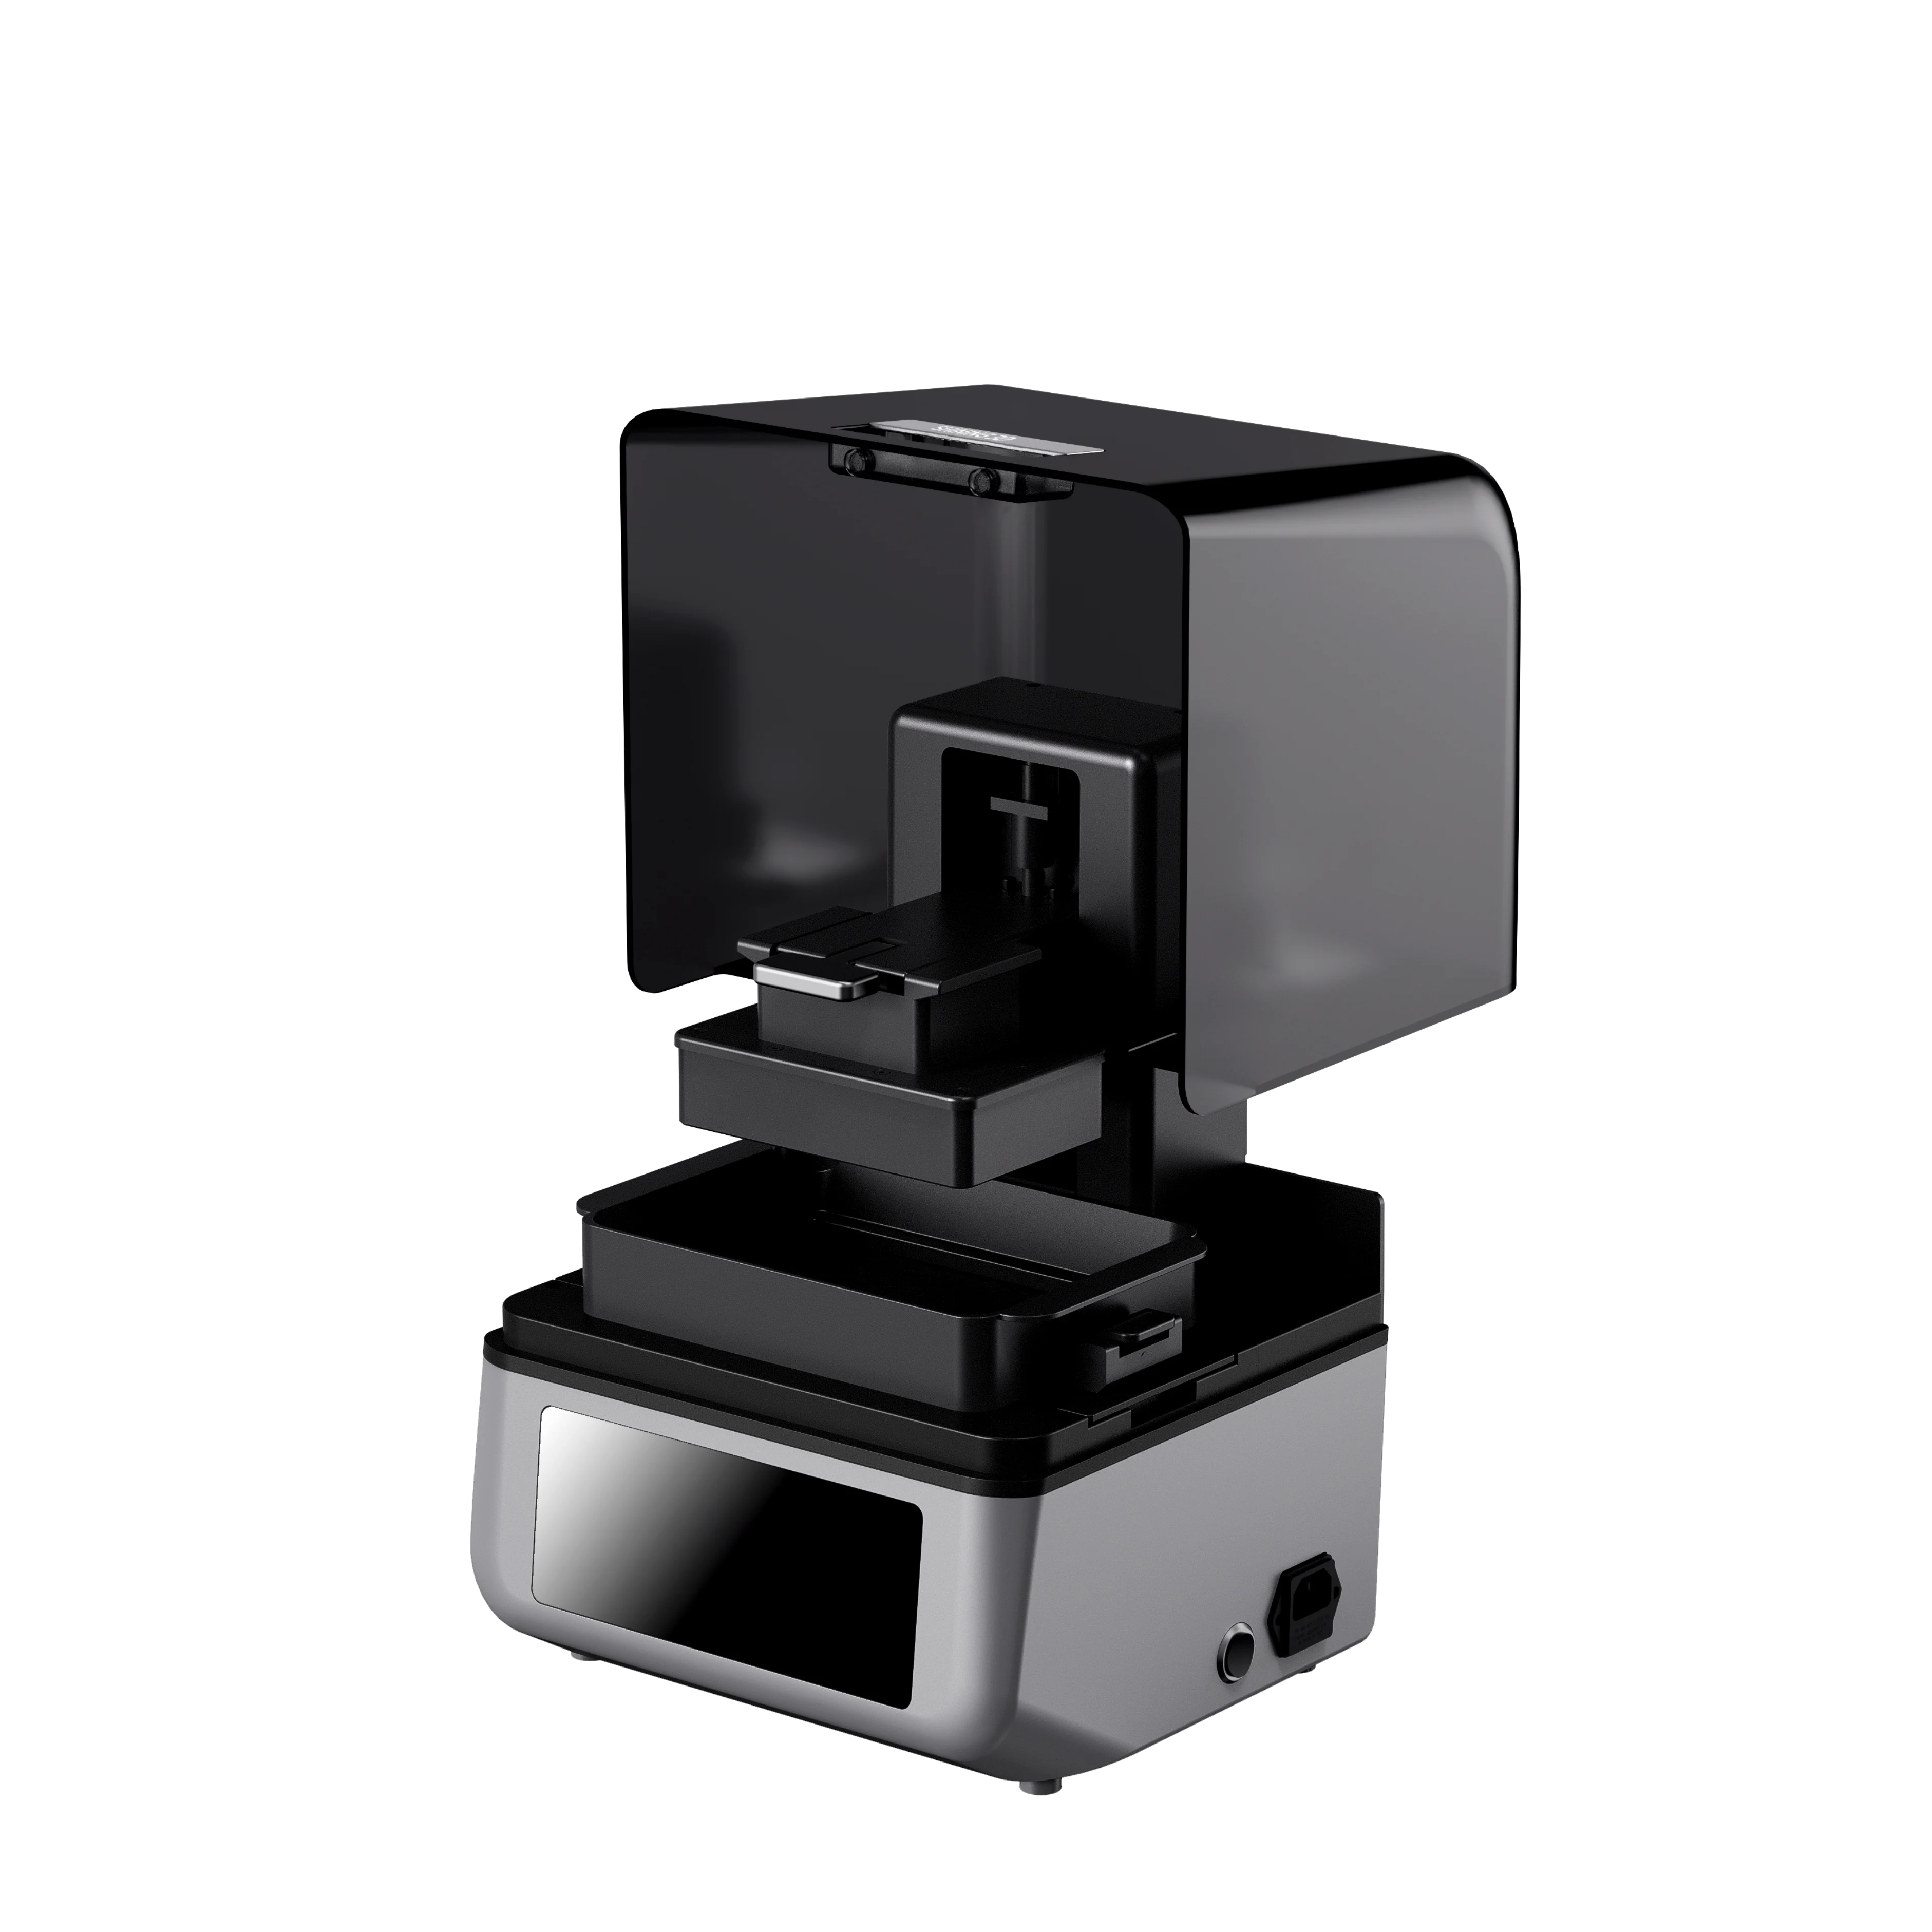
Digital dentistry is changing how dental practices and laboratories capture patient data, design dental appliances, and manufacture physical products. At the center of this workflow is the 3D dental printer, which converts digital designs into physical dental models, guides, splints, dentures, temporary restorations, and other applications.
But how exactly does a dental 3D printer work, and what should dental professionals consider before adding one to an existing workflow? Understanding the process from scanning to post-processing makes it easier to evaluate equipment, materials, and production requirements.
What Is a 3D Dental Printer?

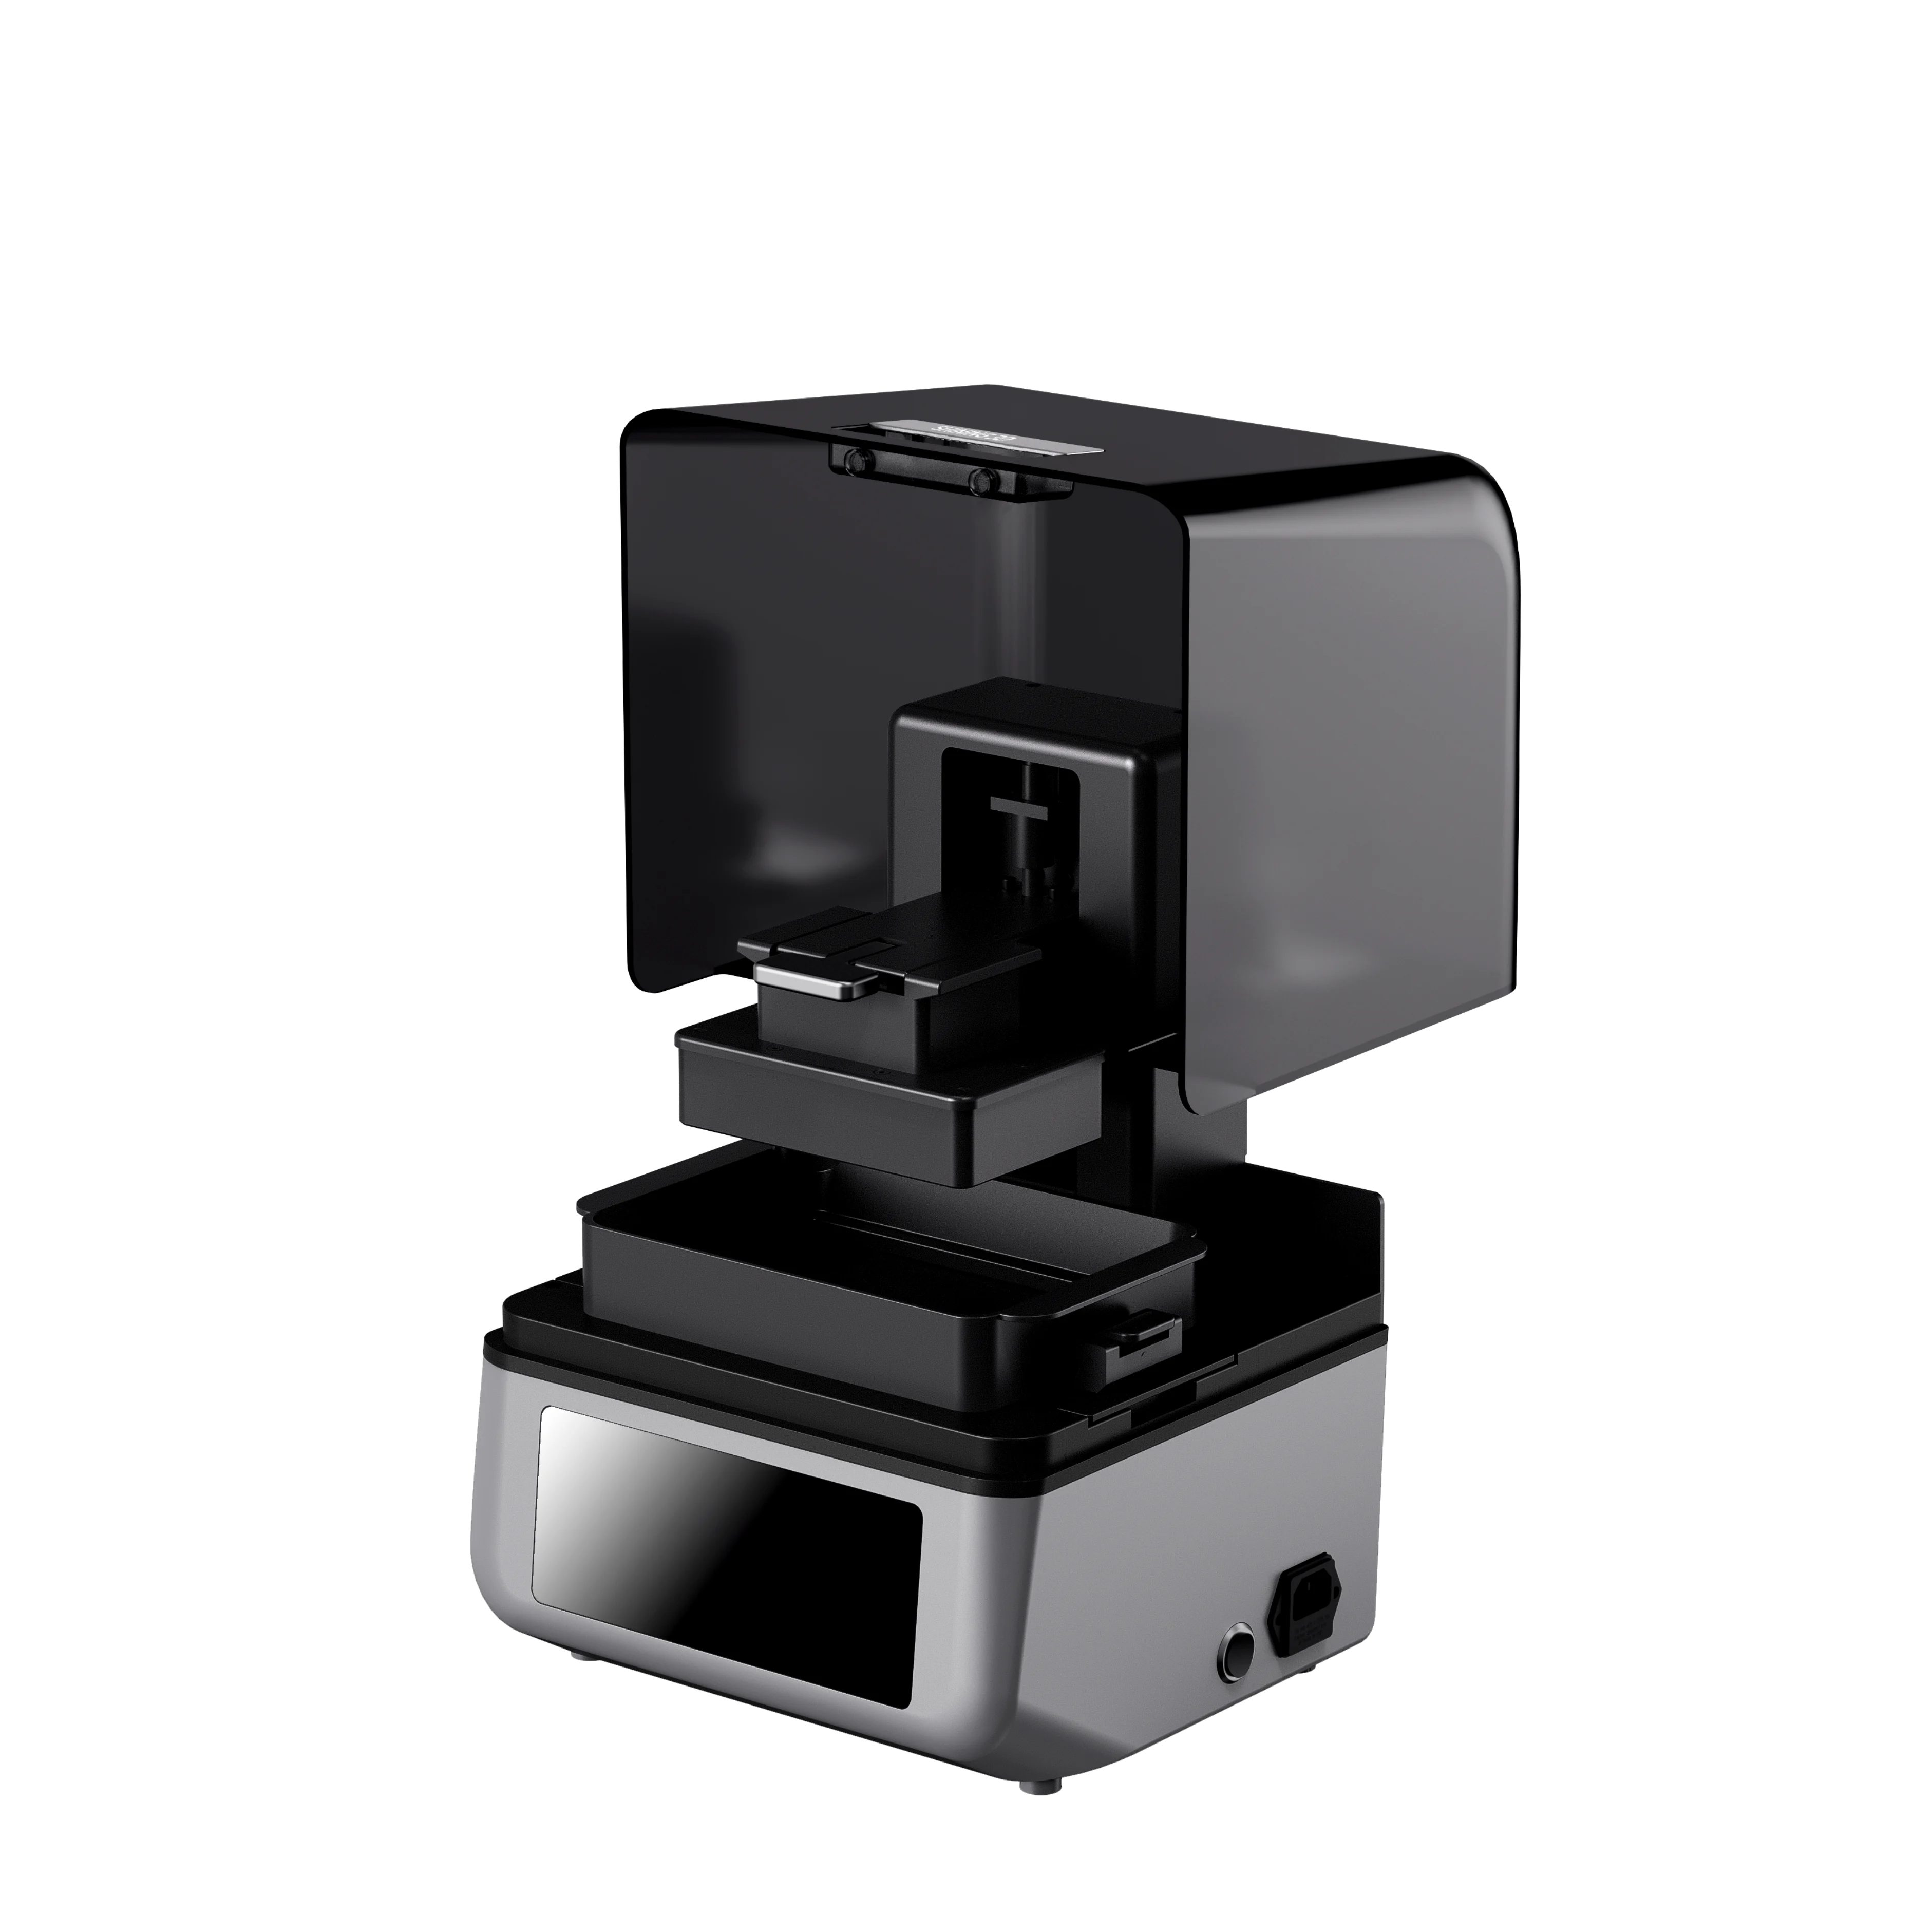
A 3D dental printer is a digital manufacturing device that builds dental objects layer by layer from a computer-generated 3D model. Unlike conventional subtractive manufacturing, which removes material from a block, additive manufacturing creates the required geometry directly from digital data.
In a typical workflow, an intraoral scanner captures the patient’s oral structures. The resulting digital file is then processed in CAD software, where a dental professional or technician designs the required model or appliance. After preparation, the file is transferred to the printer, which produces the physical object using a compatible dental resin.
This scan, design, and print process connects digital patient information with physical production. According to the American Dental Association, common reasons practices consider 3D printing include improving workflow control and efficiency, reducing manufacturing time, and complementing other digital technologies.
How Does the Dental 3D Printing Process Work?
The actual printing stage is only one part of the overall workflow. Reliable results depend on several connected steps.
- Capture Accurate Digital Data
The process generally starts with digital data acquisition. An intraoral scanner captures the patient’s teeth, gingiva, occlusal surfaces, and preparation areas, creating a three-dimensional digital representation.
For implant-related applications, additional information such as CBCT data may also be required. Combining different datasets can provide the anatomical information needed for treatment planning and surgical guide design.
The quality of the original scan matters because inaccuracies introduced at this stage can affect every subsequent step.
- Design the Dental Application
The digital scan is imported into appropriate CAD software. Depending on the application, the user may design a dental model, surgical guide, splint, denture component, temporary restoration, or another dental product.
Digital design also makes it easier to store and transfer cases. If a product needs to be reproduced, the original digital file can potentially be used again without repeating the physical impression process.
- Prepare the Print File
Before printing, the digital model must be converted into instructions that the printer can process. Print preparation typically involves positioning the model, selecting suitable support structures, defining layer parameters, and assigning appropriate material settings.
This stage has a direct influence on surface quality, dimensional accuracy, printing efficiency, and post-processing requirements.
For dental applications, users should therefore look beyond the printer itself. Software compatibility, workflow integration, material profiles, and operator experience are all important parts of the production process.
- Build the Object Layer by Layer
This is where the 3D dental printer physically produces the designed object.
Dental printers commonly use light-based technologies such as DLP or LCD to selectively cure photosensitive resin. The printer exposes each layer according to the digital design, gradually forming the complete three-dimensional structure.
SHINING 3D DENTAL currently offers both DLP and LCD dental printing technologies. Its portfolio includes systems such as the AccuFab-F1 and Ceramix-Nano using DLP, as well as the AccuFab-CEL and AccuFab-Aris using LCD technology.
The choice between technologies should be based on the intended application, required production capacity, material compatibility, accuracy requirements, and overall workflow.
What Can 3D Printing in Dental Workflows Produce?
One reason 3D printing in dental applications has become increasingly practical is the range of indications that can be supported by appropriate printer and resin combinations.
Common applications include dental models, surgical guides, orthodontic models, occlusal splints, custom impression trays, gingiva masks, denture components, indirect bonding trays, and temporary crowns and bridges.
SHINING 3D DENTAL’s current dental material portfolio covers applications including dental models, surgical guides, hard and soft occlusal splints, try-in denture bases, temporary crowns and bridges, and provisional All-on-X applications.
The key consideration is not simply whether a printer can produce an object. The material must also be appropriate for its intended application, and the complete workflow must meet the relevant requirements for handling, curing, cleaning, and quality control.
Why Material and Post-Processing Matter
Printing does not end when the object leaves the build platform. Depending on the material and application, printed parts generally require cleaning, support removal, and post-curing.
Post-processing affects the final characteristics of the printed product, so consistent procedures are essential for repeatable results. A printer with an efficient production workflow can therefore be more practical than a system that focuses only on printing speed or resolution.
SHINING 3D DENTAL provides post-processing equipment such as FabWash and FabCure systems alongside its dental printers and materials, creating a connected workflow from printing through washing and curing.
What Should You Consider When Choosing a 3D Dental Printer?
Choosing a dental printer requires more than comparing technical specifications. The first question should be what the printer will actually be used for.
Consider the types and volume of dental applications, compatible materials, required accuracy, available workspace, software workflow, connectivity, maintenance requirements, and operator training. Production capacity is also important for laboratories or practices handling multiple cases each day.
Material compatibility deserves particular attention. An open material system can provide greater flexibility when different applications require different resin characteristics. SHINING 3D DENTAL states that its dental printer portfolio supports an open material system and offers multiple configurations for different dental workflows.
It is also worth evaluating the entire workflow rather than treating the printer as an independent device. Scanning, design, printing, washing, curing, and quality inspection should work together with as little unnecessary manual intervention as practical.
Integrating 3D Printing into Digital Dentistry
The real value of a 3D dental printer comes from how effectively it connects with the rest of the digital workflow. A scanner creates digital patient data, design software transforms that data into a production-ready model, and the printer turns the design into a physical product.
SHINING 3D DENTAL approaches this process as an integrated ecosystem covering scanning, design, printing, materials, and post-processing. Its digital implant workflow, for example, demonstrates how intraoral scanning and 3D printing can be combined within an implant restoration process.
For dental teams considering digital manufacturing, this integrated perspective can make equipment selection more practical. Instead of asking only which printer has the highest specification, it is more useful to ask whether the complete system fits the applications, workload, materials, and existing digital workflow.
Bringing Digital Data into Physical Production
A 3D dental printer essentially serves as the bridge between digital dental design and physical manufacturing. From scanning and CAD design to printing and post-processing, each stage contributes to the quality and efficiency of the final result.
As 3D printing in dental workflows continues to expand across models, surgical guides, splints, dentures, and temporary restorations, understanding the complete production process becomes increasingly important. SHINING 3D DENTAL provides printers, materials, software, and post-processing solutions designed to connect these stages within a digital dentistry workflow.
For practices and laboratories evaluating digital production, the most suitable solution is ultimately one that matches real application requirements, integrates smoothly with existing processes, and provides consistent results from digital file to finished dental product.
